DE10 Advance Performing a FPGA System Test: Installing the USB-Blaster II Driver
From Terasic Wiki
The steps below outline the step-by-step process of installing the USB-Blaster II driver.
- Connect your computer to the development board by plugging the USB cable into the USB connector (J20) of DE10-Advanced. (connection shown in Figure 2-3)
- Power up the board and open the device manager in Windows. You will find an unknown device, as shown in Figure 4-1.

- Figure 4-1 Unknown device on device manager

- Select the unknown device to update the driver software. The driver file is in the \<Quartus Prime installation directory>\drivers\ usb-blaster-ii directory.
- After the driver is correctly installed, the device will be recognized as Intel USB-Blaster II, as shown in Figure 4-2.
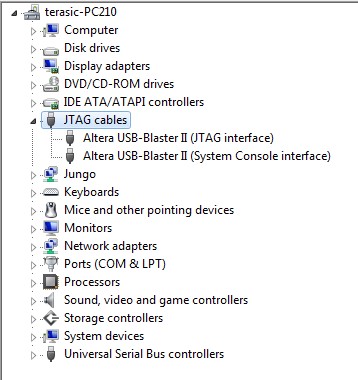
- Figure 4-2 USB-Blaster II driver is installed correctly
